Painting Tips & Tricks

Preparing the Walls

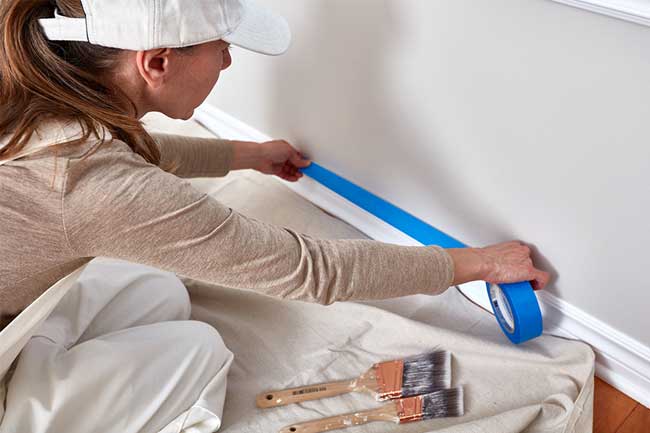
The first step to painting like a professional is to prepare the walls. Clean and primed walls will ensure that the final paint job is even and streak-free.

  • Clean all the walls and surfaces you plan to paint. Wipe the walls down using a soft cloth and a mixture of warm water and trisodium phosphate (TSP). Follow the manufacturer’s instructions for the appropriate ratio of TSP-to-water. With a separate cloth and fresh water, wipe down the walls again and allow them to dry thoroughly.
  • Borax can serve as an alternative to TSP. Combine a 1/4-cup of borax with 5-gallons of cool water. Thoroughly wipe down the walls using the mixture and a soft cloth or sponge. Rinse the walls with clean water and allow to air-dry.
  • Seal any holes and even out low spots on the wall using putty. Sand down high spots.
  • Use tack cloths to remove any dust, dirt or lint left on walls and surfaces from sanding and prep work. This will ensure a smoother finish.
  • A scraper tool can remove a popcorn finish from your ceiling. A smooth ceiling is easier to repaint and modernizes the room.
  • Once the walls are clean and dry, follow one of the most important painting tips: apply a primer. Primer will seal the surface material. That way, you won’t need extra layers of paint and any surface blemishes won’t show through. A layer of primer will also disguise joints, seams, patches and new drywall.
  • Use an oil-based primer on glossy surfaces. Glossy surfaces are great at repelling dirt and stains, but they also repel the next coat of paint. Using an oil-based primer acts like double-stick tape on these hard-to-paint glossy surfaces.
  • Use painter’s tape to line the edges of windows, doors, moulding and the edge where the walls meet the ceiling. The tape will help you create neat, clean lines as you paint.
  • Press the painter’s tape into place using a putty knife to ensure paint doesn't bleed through.
  • Remove light switch and outlet covers so you don’t have to worry about accidentally painting over them.
  • Protect anything you don’t want painted using drop cloths and painter’s tape. Cover doorknobs using small plastic bags that are sealed around the knob with tape or rubber bands.
Painting Tips & Tricks

Preparing Designs

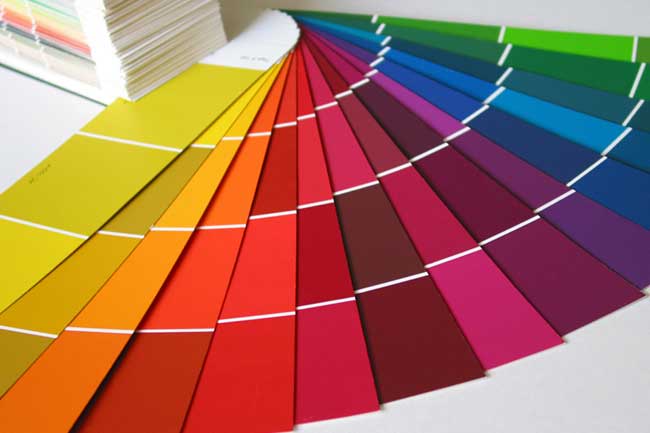
Before painting, take the time to plan and prepare any wall designs. Planning and preparing designs beforehand will save you time and frustration once the painting actually begins.

  • To create evenly spaced stripes, use a tape measure, level and pencil before taping. No need to erase the pencil lines — just paint over them.
  • Paint stencils are a great way to add wall accents easily and inexpensively. Order a stencil ahead of time or create your own using paperboard or recycled cardboard.
Painting Tips & Tricks

Work in a Well-Lit Space

Ensuring your workspace is well-lit will help you paint opaque, streak-free coats.

  • Use daylight bulbs in the room’s light fixtures to better illuminate your workspace. Daylight bulbs emit pure white light that renders colors more accurately.
  • When possible, work during the day.
  • Let in as much natural light as possible through open windows and adjacent rooms when painting.
Painting Tips & Tricks

Wall Painting Tips

When painting interior walls, keep these painting tips and tricks in mind:

  • If you don't know if the existing wall paint is oil- or water-based, wipe the surface with denatured alcohol. If the rag picks up the paint, it's water-based. If no paint rubs off on the rag, it's oil-based.
  • Keep your family safe when painting indoors by using low volatile organic compounds (VOC) and low-odor paints. Most paint we sell qualifies as low VOC and low-odor.
  • Not all paint sheens are equal. Paint finishes are created when solid paint particles of shinier paints are ground into a finer state. When this grounding occurs, the paint solids lay tightly over one another, creating a higher gloss. It results in an increased durability that can be seen in high-gloss and semi-gloss paints.
  • Choose contrasting trim colors for a more dynamic look. The architectural details of a room can get lost when the trim and wall colors are similar, creating a space that seems awash in just one color.
  • Grays are the new neutral, commonly replacing tan and off-white among the most popular neutral wall colors. Not all grays are alike, however. Many contain hints of warm yellows and reds to complement existing decor.
  • Use 4- or 6-inch white, dense foam paint roller covers for the smoothest finish on your walls.
  • Eliminate brush and roller marks and promote a smoother finish by adding 8-ounces of Floetrol to water-based paint.
  • Paint from the top of the wall to the bottom of the wall so that you paint over any drips or mistakes.
  • Create interesting textures by using sponging or rag-rolling painting techniques.
  • Cover your paint containers while you are applying the paint to prevent evaporation of the solvent and help maintain the spreadable consistency of your paint.
Painting Tips & Tricks

Rollers and Paint Brush Care

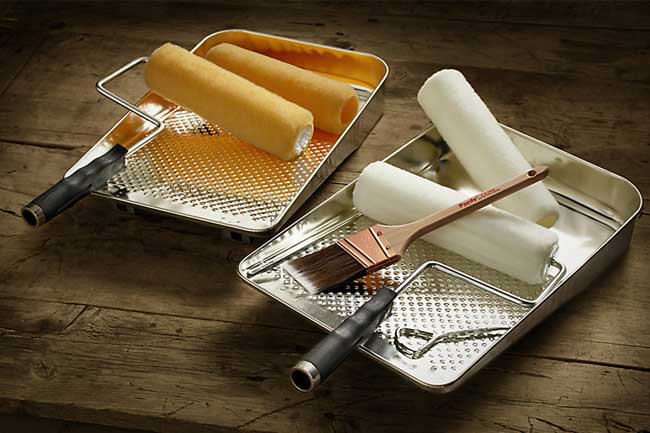
For the best results when following these painting tips, take good care of your paint brushes and paint rollers.

  • Wash paint roller covers with cool water and a little bit of dish soap before their first use. This will remove any lint or fuzz.
  • When taking a break, seal your paint brushes inside a plastic freezer bag and store them in a cool place to prevent drying.
  • Conserve water by making an extra pack of roller covers part of your painting kit. They're less expensive than the water used to clean them.
  • Clean water-based and latex paints from brushes and rollers using warm, soapy water.
  • Clean oil-based paints from brushes and rollers using a paint thinner, followed by a soapy water rinse.
  • When cleaning rollers, remove the roller cover from the roller frame immediately after use.
  • A brush comb can help remove stubborn paint from brushes, and a putty knife can help remove paint from rollers.
  • Allow the brushes and rollers to dry thoroughly before storing them.
Painting Tips & Tricks

Finishing Touches

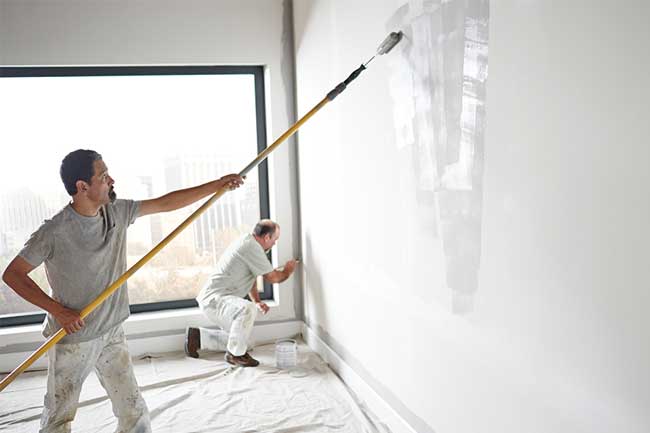
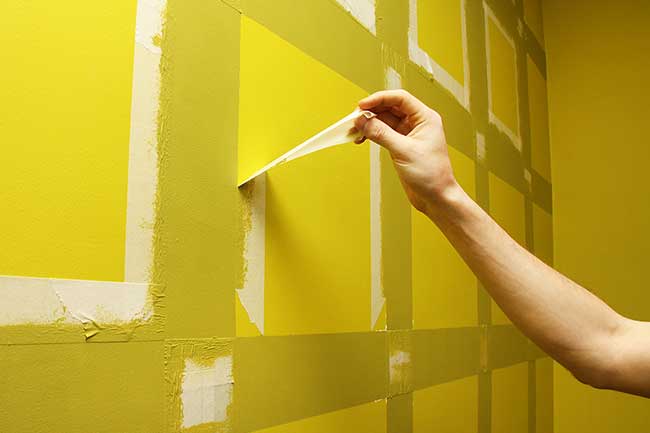
As you near the end of your painting project, follow these final interior paint tips for professional-looking results:

  • Allow more time for darker paint colors to dry. Dark paint colors may need to dry a minimum of six hours between coats. Applying a second coat too quickly will re-wet the first coat and create streaks.
  • In high-moisture locations, such as bathrooms and basements, give extra time for paint coats to dry.
  • Remove painter's tape by pulling it at a 45-degree angle to create an effective release point.
  • Don’t wait too long to remove painter’s tape. Remove the tape as soon as the paint is dry to the touch. Waiting until the paint is completely dry to remove painter’s tape can result in chipping.
Painting Tips & Tricks

Cleaning Tips

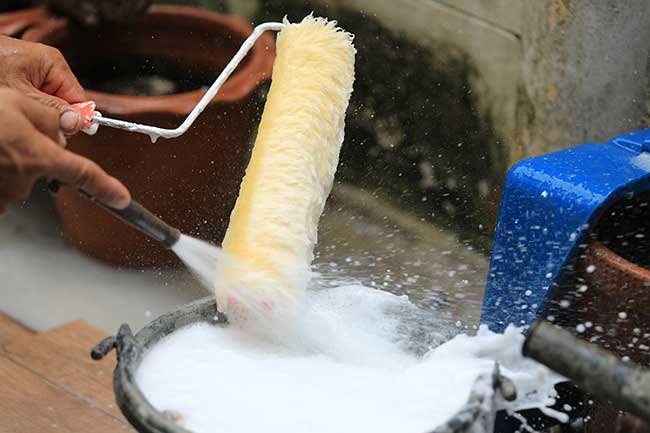
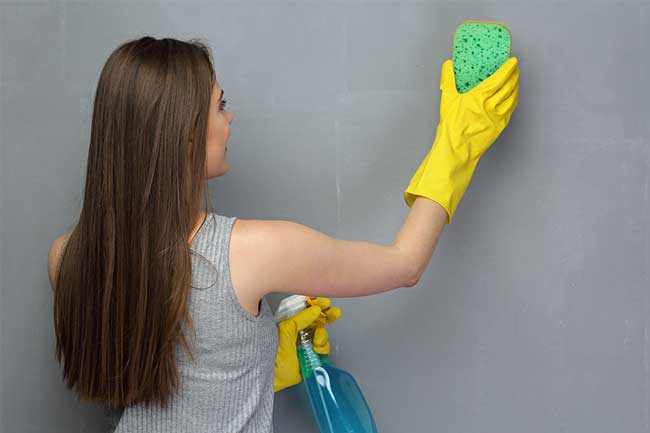
After a long day of painting, you’ll want to make cleaning as quick and painless as possible. Here are a few ways to make cleaning after a DIY painting project easier:

  • Keep extra paint from drying out by sealing paint cans tightly with a layer of plastic wrap before hammering the can’s lid back on.
  • When possible, transfer extra paint to smaller containers to avoid too much air exposure. Mason jars make excellent DIY paint cans. Just remember to mark the new containers with the paint formula and which room(s) it was used in for future applications.
  • Clean all your painting tools as soon as possible to extend their life and keep them ready for future projects.
  • Hang brushes and roller covers to dry so that excess water can drain without damaging the bristles and roller naps.
  • Store leftover paint tools and supplies in a dry, temperature-controlled location away from pets and children. Never allow leftover paint to freeze.
Painting Tips & Tricks
Top